Ya este escenario lo había probado en Raspbian; me dio un poco de trabajo realmente echarlo a andar.
Así que decirí hoy instalar AlmaLinux 10 en mi Raspberry Pi 4 y probar echar a andar mi servicio de NTP con GPS.
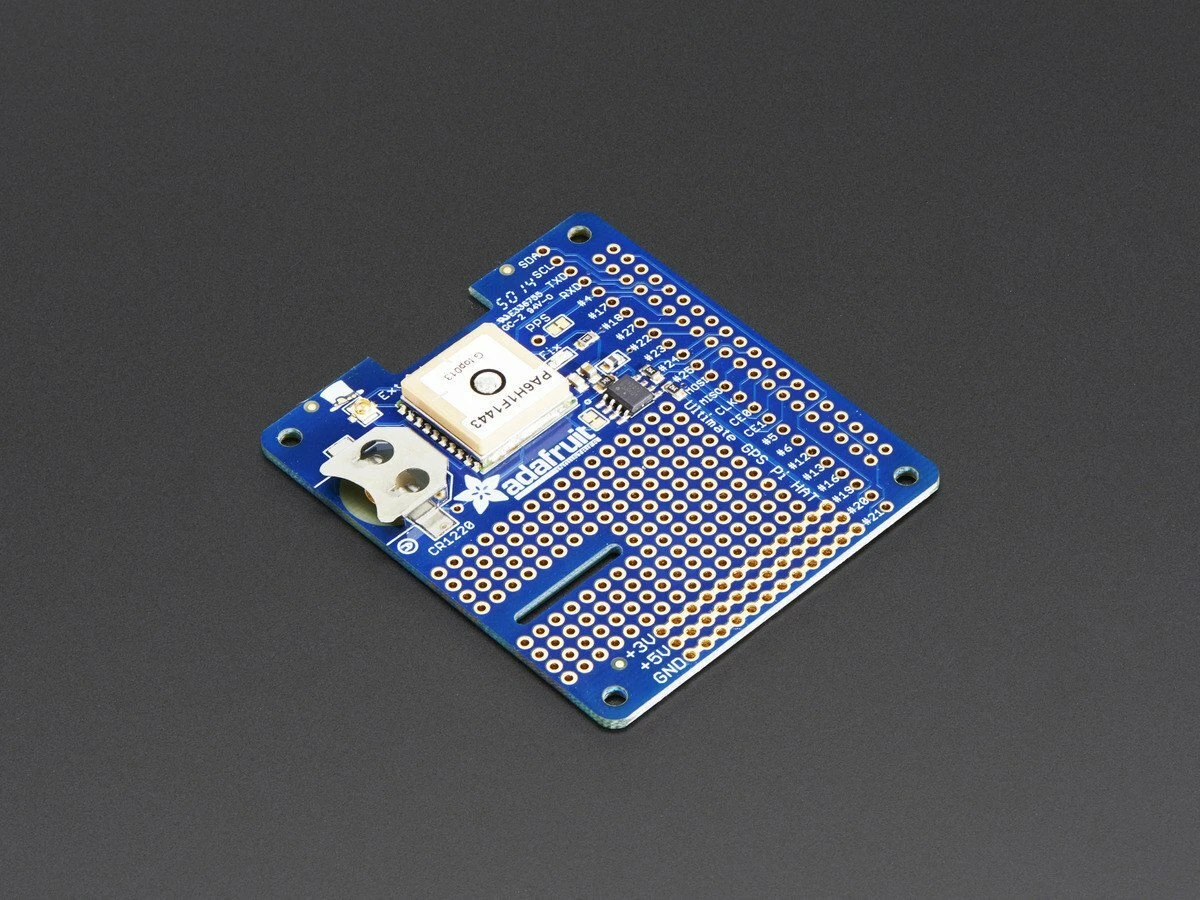
Hace varios meses adquirí un HAT para Raspberry Pi que agrega la opción de un GPS a mi Raspberry, de esta forma puedo tener un servidor de tiempo (NTP) stratum 1 en mi red.
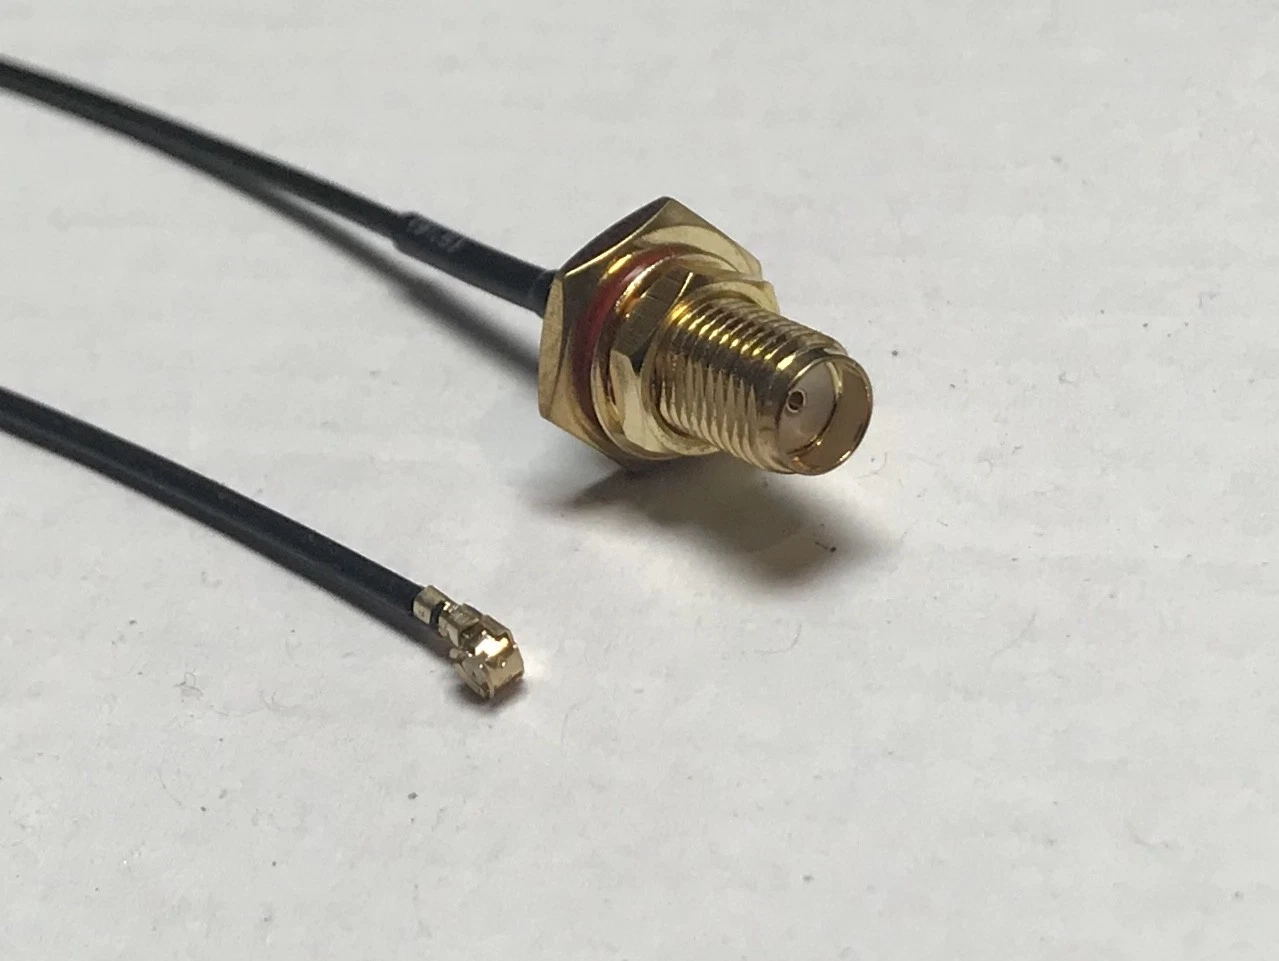
No es sólo el HAT, sino que compré una antena externa para el GPS y un cable para convertir el formato de los conectores:
1- Adafruit Ultimate GPS HAT for Raspberry Pi A+/B+/Pi 2/3/Pi 4 – Mini Kit
2- GPS ANTENNA SMA MALE PLUG ACTIVE ADAPTER CABLE FOR NAVIGATION STEREO SCREEN NEW

3- SMA Female to uFL/u.FL/IPX RF 1.37 Coaxial Cable Adapter Assemb Pick Length (8 inch)
Por supuesto que tanto el HAT como la antena y el convertidor pueden ser de otro fabricante o marca. En mi caso compré este.
Proceso al instalar AlmaLinux:
Una vez tengas instalado AlmaLinux, no olvidar realizar las siguientes configuraciones:
1- Deshabilitar SELinux:
vim /etc/sysconfig/selinux
SELINUX=disabled
2- vim /boot/config.txt
Agregar al final:
# Enable PPS on GPIO 4
dtoverlay=pps-gpio,gpiopin=4
Este paso es fundamental ya que lo que hará es indicarle al raspberry que debe buscar el puerto PPS del GPS en el pin 4, ya que mi HAT envía la señal PPS al pin 4.
Al inicio esto me confundió bastante ya que no me funcionaba el PPS y por tanto mi servicio de gpsd no capturaba los datos del gpsd.
También enfrenté un pequeño problema y es que el raspberry usa el puerto /dev/ttyS0 para su consola serial, y el GPS también lo usa. Entonces lo que hice fue deshabilitar el puerto consola serial. Para ello editas /etc/cmdline.txt y le quitas la parte inicial que dice: console=serial0,115200, dejo el resto igual, por ejemplo:
vim /boot/cmdline.txt
console=console=tty1 root=PARTUUID=530e947f-26ce-402e-8562-a8c34939f03d rootfstype=ext4 rootwait
Instalando gpsd:
dnf install gpsd gpsd-clients
Una vez instalado, edito el archivo de configuración de gpsd dejándolo exactamente así:
/etc/sysconfig/gpsd
# Options for gpsd, including serial devices
OPTIONS="-n /dev/ttyS0"
# Set to 'true' to add USB devices automatically via udev
USBAUTO="true"
El punto es indicarle al servicio de gpsd en qué puerto serial va a encontrar al dispositivo. Esto lo puedes encontrar con:
dmesg -T|egrep tty
por ejemplo en mi caso me decía:
[Sun May 17 22:23:34 2026] fe215040.serial: ttyS0 at MMIO 0xfe215040 (irq = 40, base_baud = 62500000) is a 16550
Configurando chronyd:
Edito /etc/chrony.conf y lo configuro para usar /dev/pps0 de referencia
refclock PPS /dev/pps0 refid PPS precision 1e-7 prefer

server 216.239.35.0 iburst
server 216.239.35.4 iburst
server 216.239.35.8 iburst
server 216.239.35.12 iburst
allow 0.0.0.0/0
allow ::/0
driftfile /var/lib/chrony/drift
rtcsync
makestep 1.0 -1
noclientlog
cmdport 0
minsources 2
Aquí enfrenté un problema y es que /dev/pps0 solo lo puede leer el usuario root, para ello configuré el udev rules para permitir lectura al grupo chrony
echo 'KERNEL=="pps0", OWNER="root", GROUP="chrony", MODE="0660"' > /etc/udev/rules.d/10-pps.rules
Una vez agregado, no olvides reiniciar!
reboot
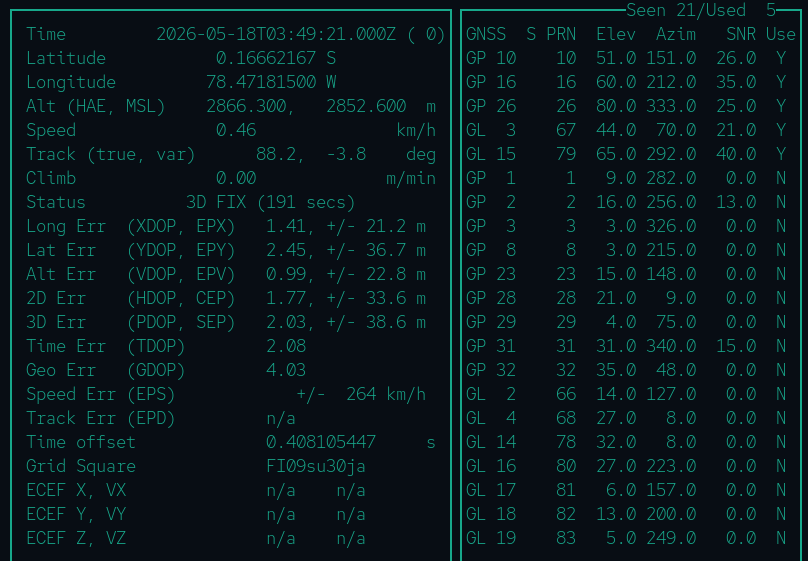
Ahora podemos probar si nuestro chronyd está leyendo bien a través del device pps los impulsos del servicio de gps. Para ello ejecuto:
cgps -s
Y pasados unos segundos (usualmente menos de 15), tu servicio de GPS estará fijado (Fix), míralo en la línea que dice Status 3D FIX